Replacing fork springs, bushings, and seals in a '95 Honda VFR750F (4th gen)
My VFR has always had very soft front suspension, which caused it to dive easily when braking. I finally decided to replace the stock springs (which are 0.701 kg/mm according to Race Tech's website) with a pair of 1.0 kg/mm springs. While I had the forks apart, I decided to replace the bushings, oil seals, dust seals, and fork oil (Honda SS-8 10-wt). The front is now significantly stiffer, and the dive during normal braking is gone.
The biggest problem I had was with one of the fork bottom bolts, a 6mm socket cap bolt recessed into the fork. One of them was quite stubborn, and I stripped the head out. I think there may have been something else funny with the bolt, because it was not recessed as far as the bolt in the other fork. In order to get enough torque on the bolts to get them out, I had to put the forks in a vise; I couldn't keep the fork tube from spinning under the torque even if I stood on it. I clamped onto the ears the brake calipers mount to, making sure to stay on the flat surfaces of the ears. A long 6mm hex key (flat end that fits tight, not the ball-end type) mounted to a 3/8" drive socket and a break-over bar broke one of them loose. The other one I stripped out, and ended up having my dad weld a metal bar to it to get the bolt out.
Some pictures... the lighting isn't consistent because I did one fork in the afternoon and one at night:
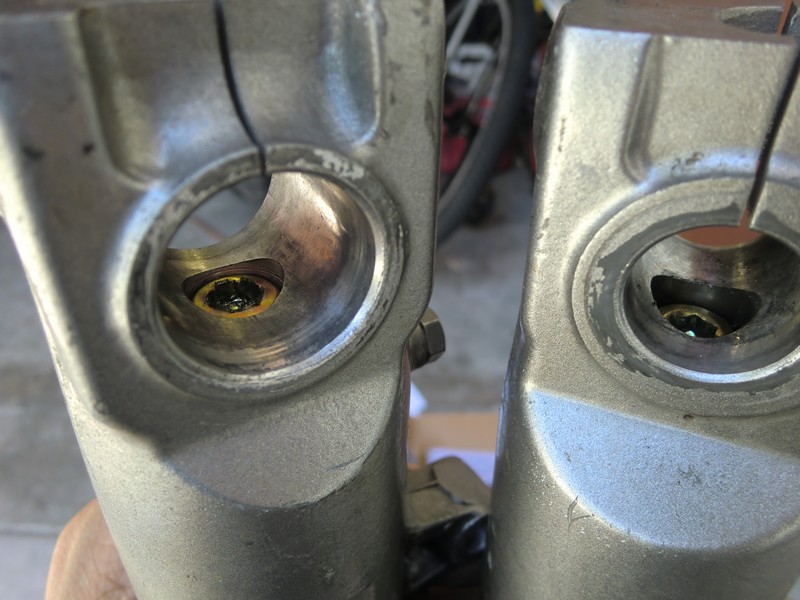
Fork bottom bolts. The one on the left is the stripped head, and is not recessed as far for some reason. It went back together that way too. In retrospect, I wonder if there is something wrong with the way the oil lock piece seats down into the slider.
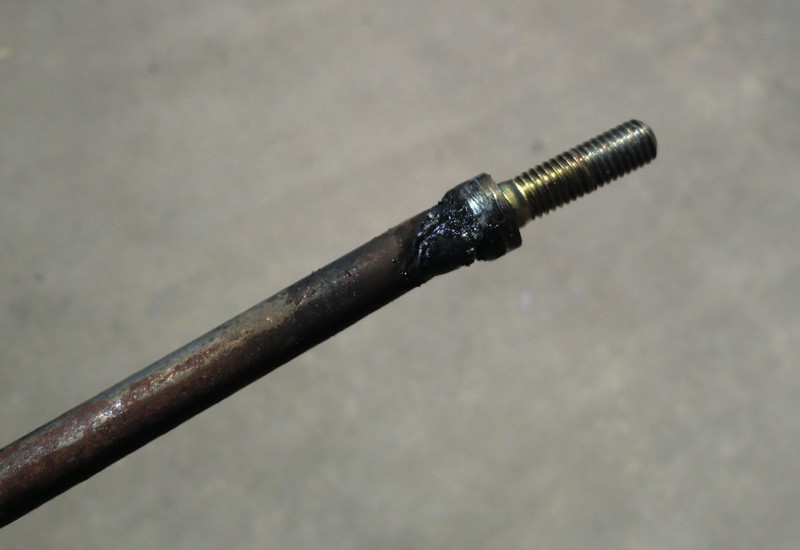
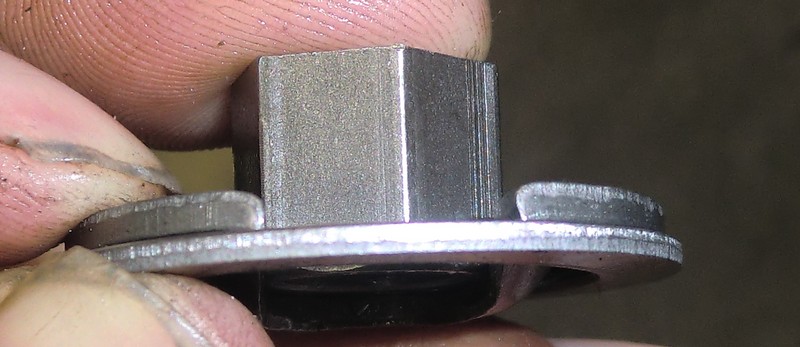
Fork bottom bolt removed after welding it to a rod:
Reduced preload before unscrewing the fork cap (to reduce the spring force on the cap). I could have unscrewed it one more mark:
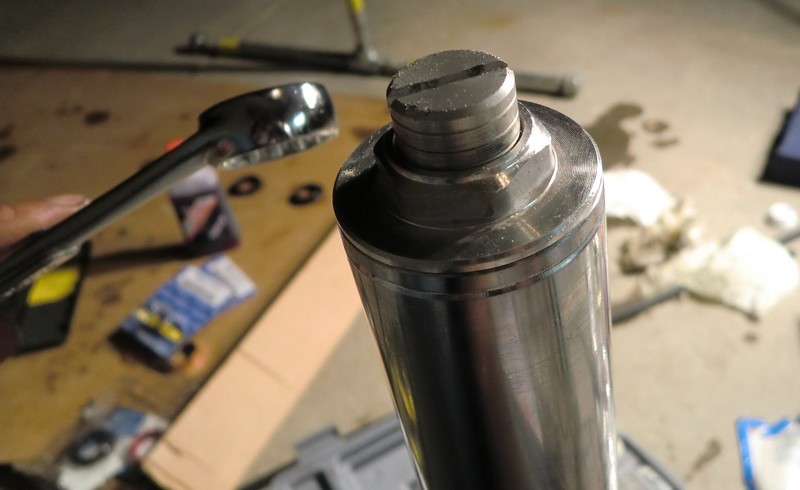
Fork cap unscrewed:
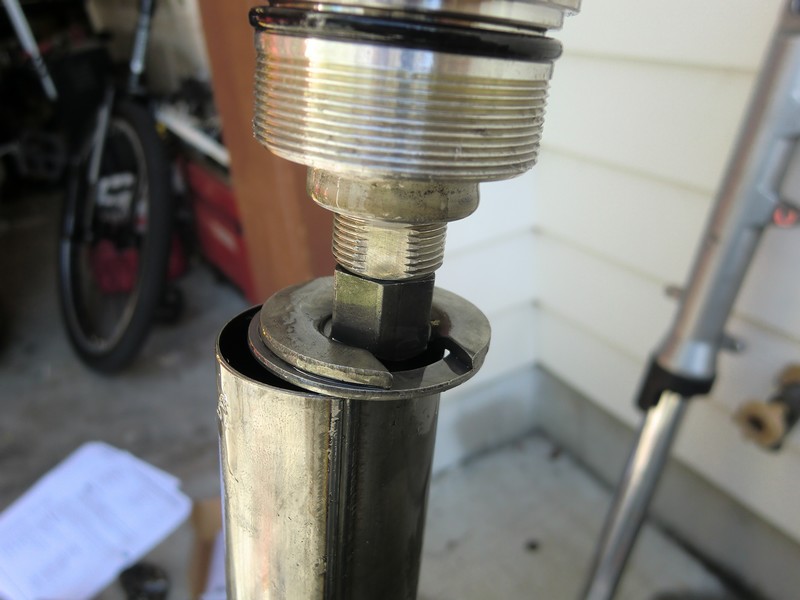
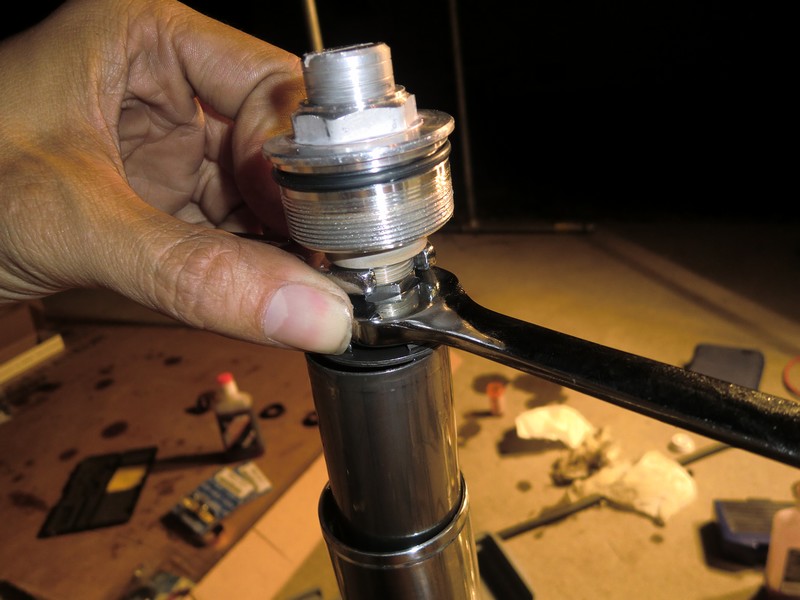
Loosening the lock nut that holds the fork cap to the fork internals. By turning the preload adjuster in, I can get a wider surface for the top wrench if needed.
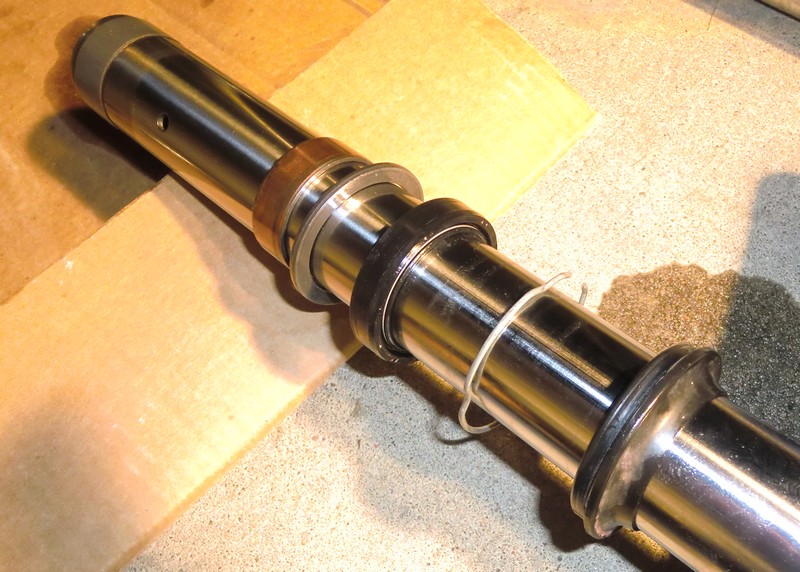
From left to right: fork cylinder assembly, fork spring, washer, spacer, washer, retainer washer, lock nut, and fork cap:

From left to right: fork spring, washer, spacer, washer, retainer washer, lock nut, and fork cap. Note that the flat end of the lock nut faces the fork cap, and the slightly beveled end faces the retainer washer.

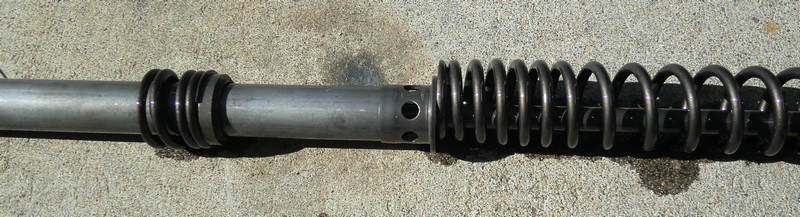
Close-up of where the fork spring seats. Notice that the more tightly coiled end of the spring is on this side (the Race Tech springs did not have this asymmetry):
From left to fork cylinder assembly, fork spring, washer, spacer, washer, retainer washer, lock nut, and fork cap:

Oil lock piece on the end of the fork cylinder assembly. On one fork, this came out with the cylinder assembly, but on the other it remained in the bottom fork slider:

From top left to bottom right: fork tube bushing, fork slider bushing, washer, oil seal, retaining clip, and dust cover:
Simple fork bushing driver. I used the old bushing to help get down into the recessed part. The PVC pipe is cut into two halves that are zip tied together, and the pipe wrench is used to impact the driver:

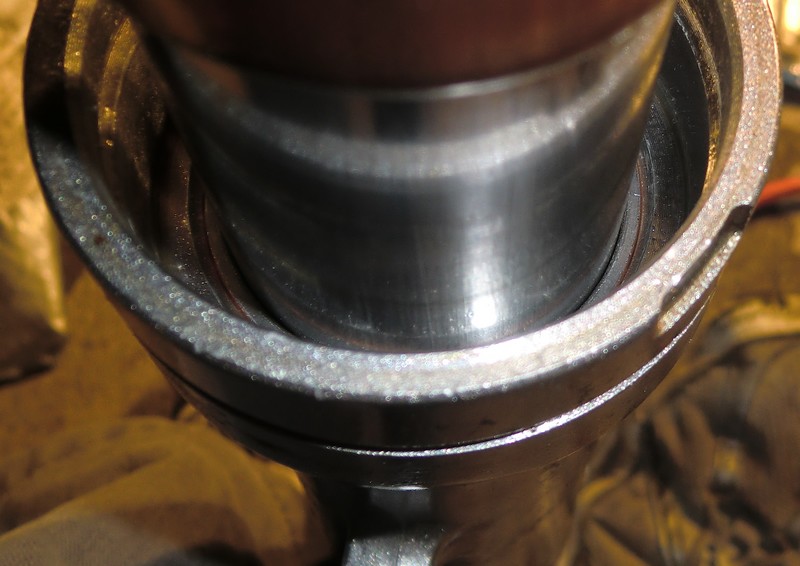
Fork slider bushing seated. Notice that the bushing does not stick out above the recessed area around the fork tube.
When measuring whether I wanted to cut a new spacer to adjust the preload, I noticed that due to the way the retainer washer is shaped, the bottom of the lock nut is pretty close to even with where the spring seats against the washer:
Copyright (c) 2010 Paul Miner <$firstname.$lastname@gmail.com>