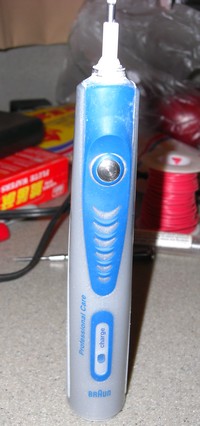
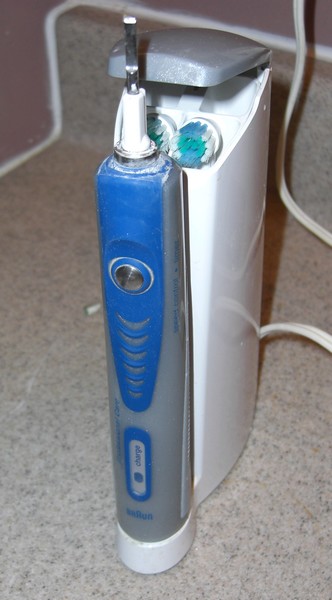
The toothbrush.
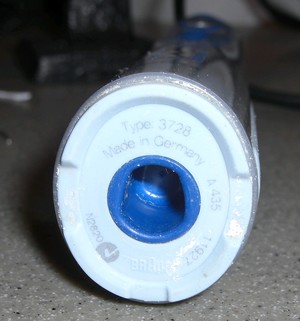
It says "Type 3728".
|
The toothbrush. |
It says "Type 3728". |
I've been having trouble getting my toothbrushes to charge lately. Sometimes smacking them and/or the charger would get the blue light blinking briefly, but it would never charge for very long. Initially I thought maybe the charger was the problem, and I started to try to take it apart, but later realized that it was far more likely that the batteries were a problem. After I got the first toothbrush working, I took pictures of the process when working on the second toothbrush.
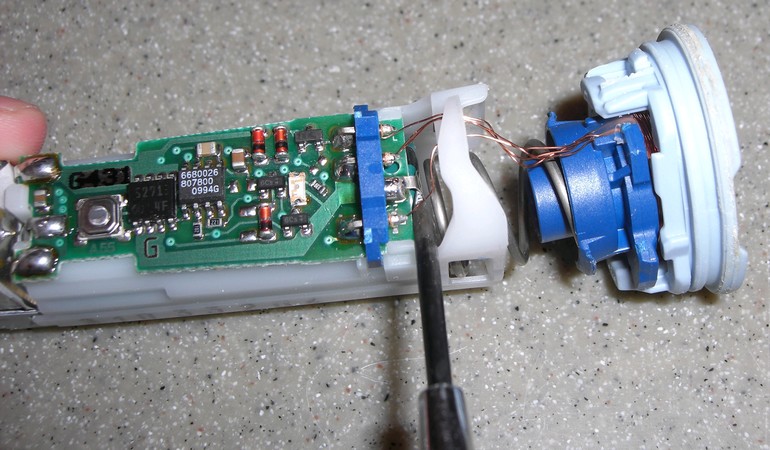
The first step is to remove the bottom of the toothbrush, which can be done by fitting the toothbrush over the little plastic knob on the back of the charger and twisting the toothbrush counter-clockwise a bit (it's pretty stiff). When it pops loose, the base of the toothbrush will be stuck to the charger, but still attached to the toothbrush by four very delicate wires. Be careful not to break these wires, or you'll have to strip them and resolder them. Use a screwdriver to pop the base off of the plastic knob on the charger.
 The back of the charger. |
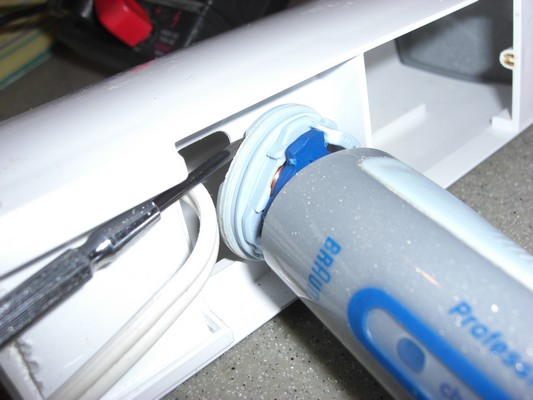 Twist counter-clockwise, then carefully pry the base off of the plastic knob with a screwdriver. |
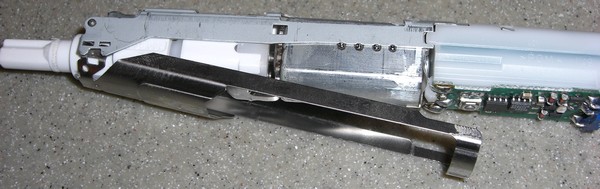
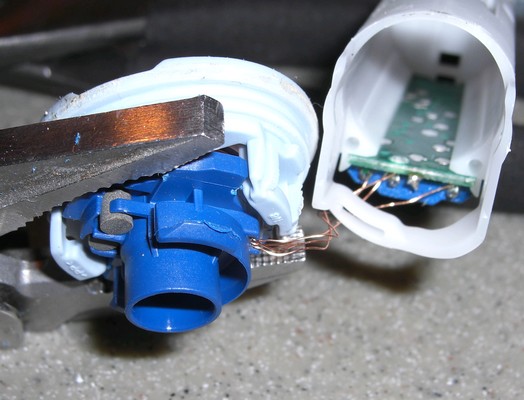
The next thing to remove is the little metal ring near the top of the toothbrush. This can be removed by carefully working it back and forth with pliars until it slides off. This will allow the guts of the toothbrush to slide out the bottom.
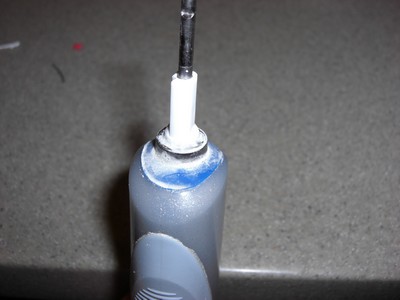 The metal ring. |
 After removal. |
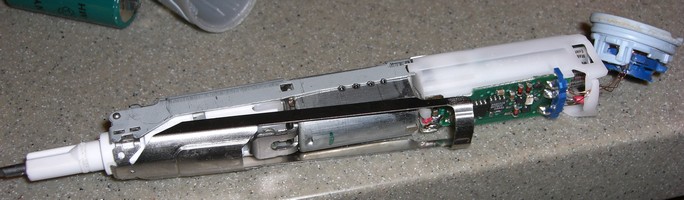
After sliding the guts of the toothbrush out the bottom, I wanted to disconnect the battery. I was curious how the battery was doing and what the polarity was, so I checked the voltage:
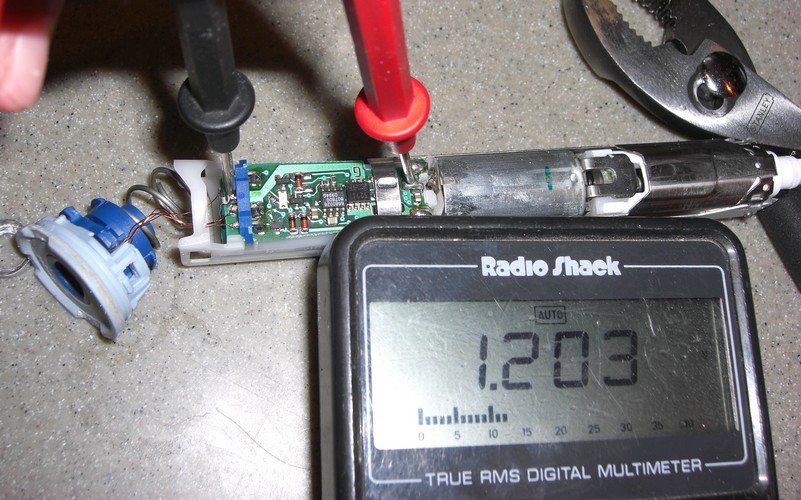
Negative at the bottom, positive at the top. The next thing is to remove the switch lever which activates the switch.
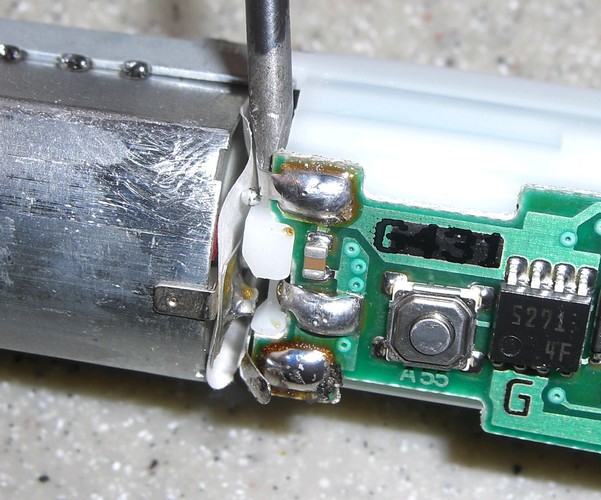
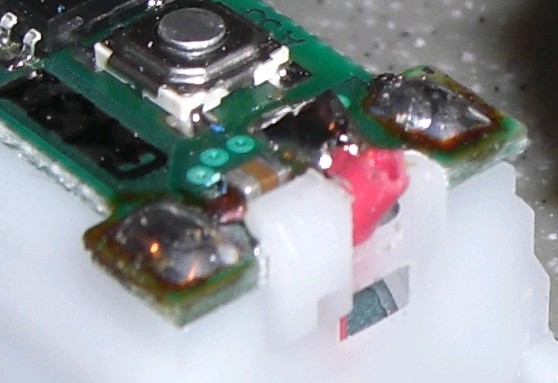
Next, I desoldered one battery terminal (the negative terminal), using a screwdriver to help free it from the solder during desoldering:
After desoldering:
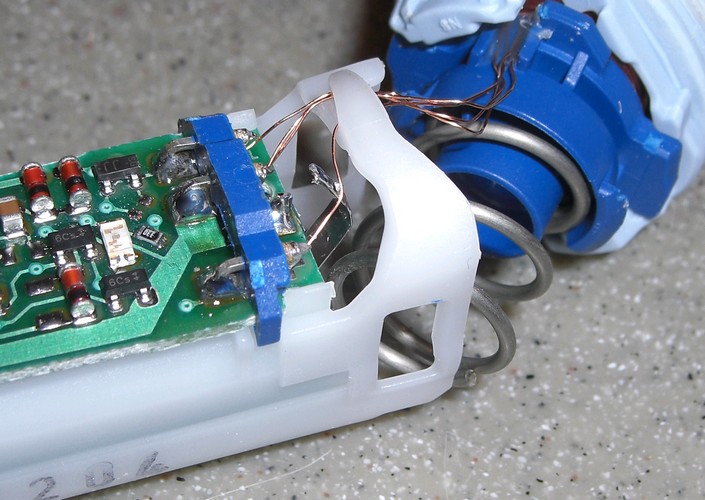
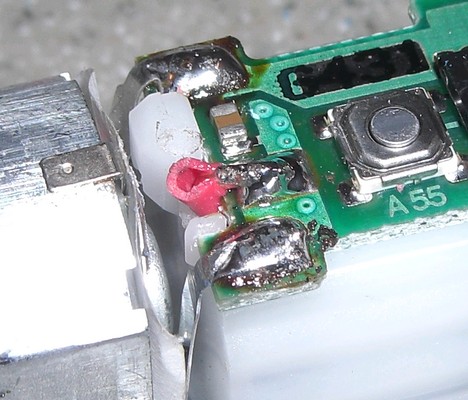
The same thing needs to be done to the two motor terminals on the circuit board:
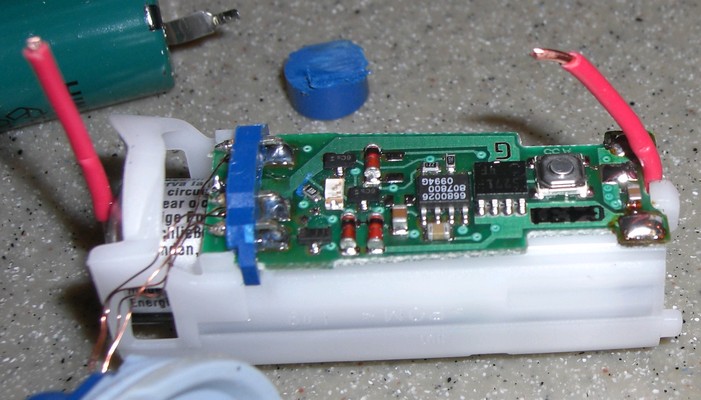
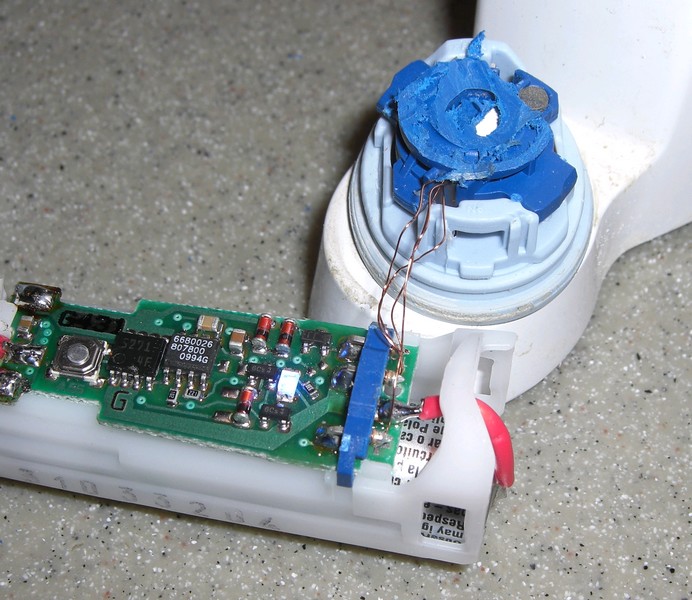
After that, pop the plastic tabs on both sides holding the battery module on to the mechanical module so that the battery module can be slid off:
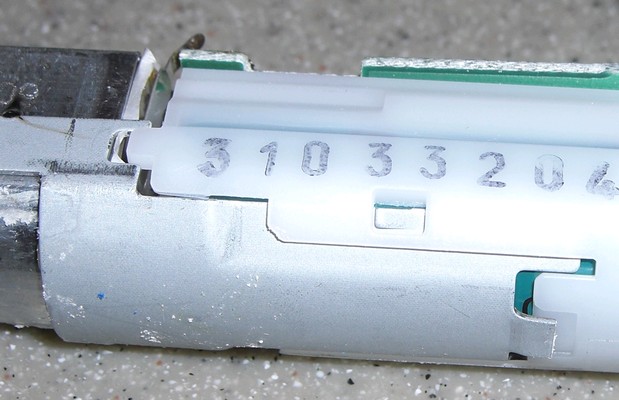
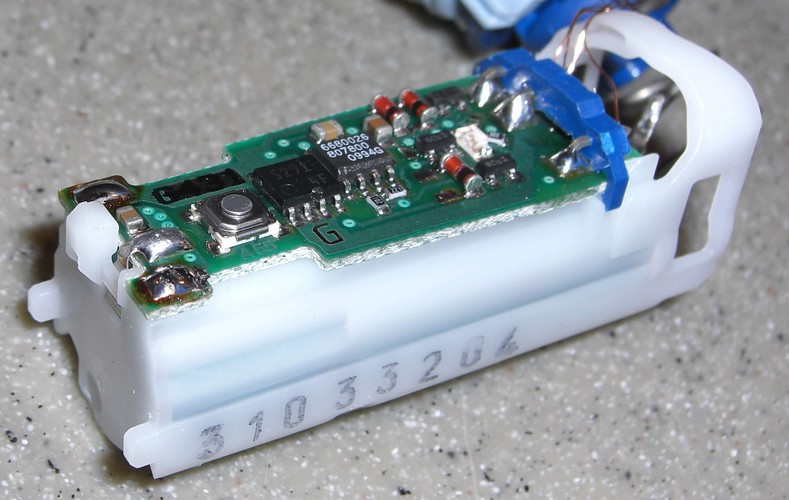
You should now have the battery module by itself:
Next, desolder the positive terminal of the battery:

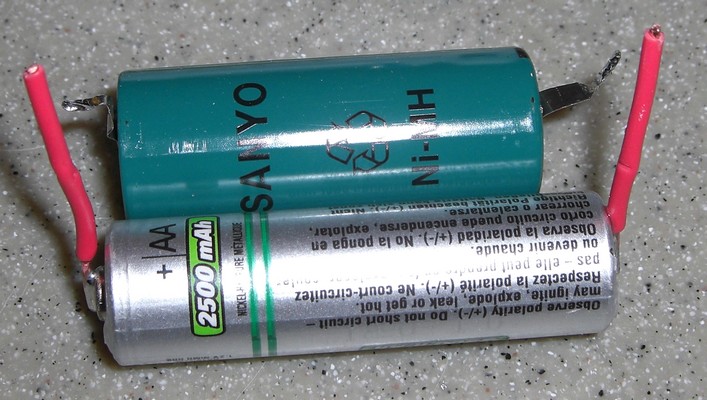
UPDATE 2009/05/15: Looking at this thread, the actual type of battery is "4/5AF" or "4/5A". I don't know of a good source for these batteries, but searching Google for those terms returns a lot of hits.
UPDATE 2009/08/10: Murat Demirkol sent me an email about an alternate approach: "I used a 1000mAh AAA-size battery, which is almost the same length as the original one. (Supported the missing thickness with some piece of paper) Thus I didn't need to bother with the tail cap plastic piece."
Now pull out the old battery and prepare the replacement. The original battery in mine was shorter than a standard AA battery, but had a larger diameter. If you can find a battery with the same dimensions, that would work best. But you can still make a standard AA-sized battery fit with some work. Solder on some leads and get started.
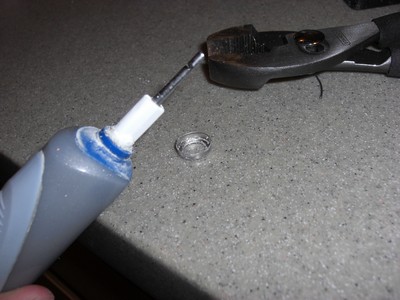
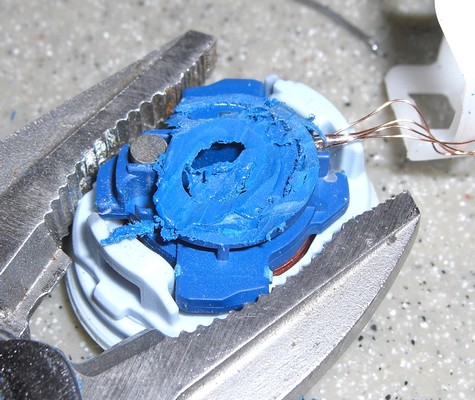
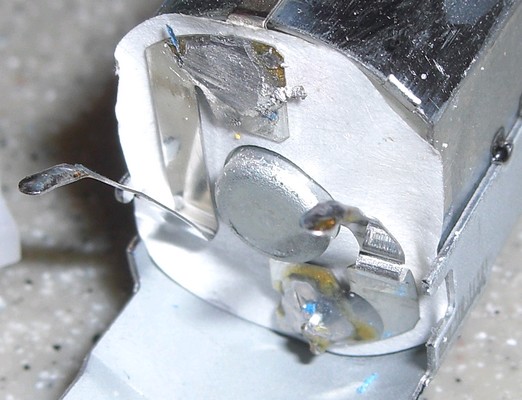
The first thing that has to be changed is that a good chunk of the plastic on the base has to be trimmed off.
I made two mistakes in this picture. First, I trimmed just a little too much, and broke through the plastic in the center, so it's no longer waterproof there. Second, I lost one of the little ferrite beads in the base (I don't know what they're for, but it seems to work without it).
Insert the new battery, paying attention to polarity.
Trim and solder the positive terminal.
Because I used wires instead of metal strips, my positive terminal sticks out more than the original. To make sure it wouldn't short against a motor terminal, I ground the terminal flat.
After that, slide the battery module back on and solder the motor terminals.
Finally, solder the negative terminal back on. At this point, you can try turning on the toothbrush. I don't know if your experience will match mine, but on both my toothbrushes, it wouldn't work. Pushing the button, holding the button down, nothing would turn it on. In order to get it to work, I had to put the base coil on the charger and leave it there for about 10 seconds. After that, it should turn on whether it's on the charger or not (whew!). I don't know why, but it acts like the circuit needs to be "primed" by the charger.
Put the switch lever back on.
Then stuff the guts back into the housing.

Press the metal ring back onto the top of the toothbrush. It should kinda snap in place.

Put the base on the back of the charger, mash the toothbrush onto it, and twist clockwise. If you trimmed off enough plastic (or if you had a properly sized battery), the base should lock back onto the body of the toothbrush, and you should be able to just pull the toothbrush off and use it. Enjoy!
Copyright (c) 2009 Paul Miner <$firstname.$lastname@gmail.com>